If your iPad is running low on storage, transferring photos to your computer is a practical solution. Not only will you free up valuable space, but you’ll also create a backup for your cherished memories. There are several methods to transfer photos from an iPad to a Windows PC or a Mac. This guide covers the following methods:
- Using the Photos App on Windows
- Using the Photos App on Mac
- Using File Explorer (Windows) or Finder (Mac)
- Using iCloud
Moving Photos from Your iPad to a PC or Mac
To transfer your photos, you can use the Photos app, File Explorer (Windows), Finder (Mac), or iCloud storage. Before you start, ensure you have iTunes installed on your Windows PC if you are using one. Here’s a step-by-step guide to each method:
Method 1: Using the Photos App on Windows
The Photos app on Windows is a straightforward way to transfer your photos from an iPad to a PC. Follow these steps to transfer your photos:
Step 1: Update iTunes For your PC to recognize your iPad, you need to have iTunes installed. If you don’t have iTunes, download it from the Microsoft Store and ensure it is updated to the latest version. This is crucial for smooth connectivity between your devices.
Step 2: Connect Your iPad to Your PC Using your iPad’s charger cable, connect your iPad to your PC’s USB port. Make sure your iPad is unlocked. If prompted on your iPad, tap “Trust” or “Allow” to grant access.
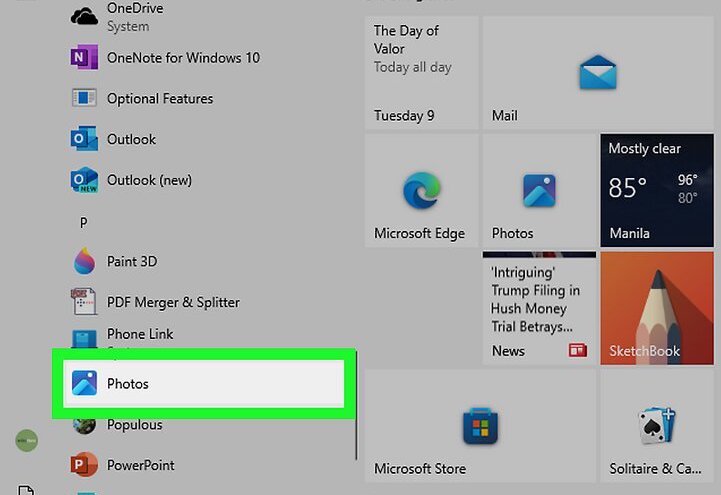
Step 3: Open the Photos App To open the Photos app on your PC:
- Click the Windows Start button.
- Type “photos” in the search bar.
- Click the Photos app from the search results.
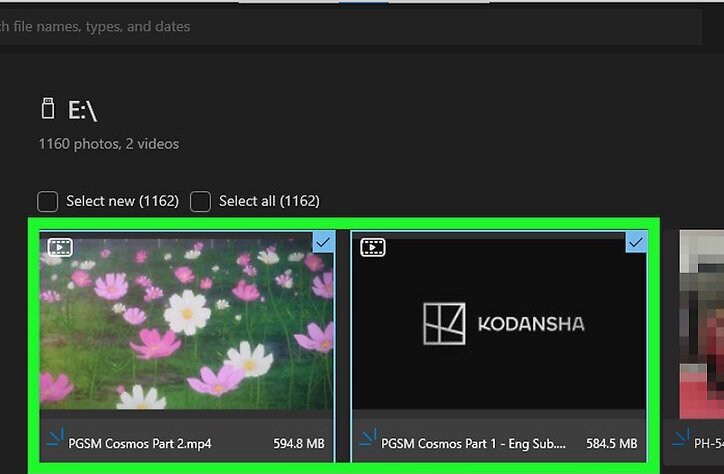
Step 4: Import Photos
- Click the “Import” button located in the upper-right corner of the Photos window.
- Select “Apple iPad” from the drop-down menu. Your PC will start searching for photos on your iPad.
- Browse through the thumbnails and select the photos you want to transfer by clicking the checkbox in the upper-right corner of each image.
- Click “Add [number] items” in the upper-right corner once you’ve selected the desired photos.
Step 5: Choose a Destination Folder
- Choose a folder within your “Pictures” directory to store the imported photos. If you prefer, you can create a new folder by clicking “Create folder.”
- Once the destination is set, click “Import” at the bottom of the window. Your photos will begin importing, and you’ll receive a notification once the process is complete.
Method 2: Using the Photos App on Mac
Transferring photos to a Mac using the Photos app is just as simple. Here’s how to do it:
Step 1: Connect Your iPad to Your Mac Using the iPad’s charger cable, connect your iPad to your Mac’s USB port. If your iPad uses a USB 3.0 connector, you may need a USB 3.0 to USB-C adapter.
Step 2: Open the Photos App Click the Photos app icon in your Mac’s Dock to launch it.
Step 3: Select Your iPad Click your iPad’s name under the “Devices” heading on the left side of the Photos app window. If your iPad doesn’t appear, unlock it by pressing the Home button and entering the passcode.
Step 4: Import Photos
- Select the photos you want to download by clicking on them. If you want to import all new photos, skip this step.
- Click “Import Selected” in the upper-right corner. Alternatively, click “Import All New Photos” to import all new photos that aren’t already on your Mac.
Method 3: Using File Explorer (Windows) or Finder (Mac)
If you prefer to manage your files manually, you can use File Explorer on Windows or Finder on Mac. Follow these steps:
Step 1: Update iTunes (Windows Only) Ensure you have the latest version of iTunes installed on your Windows PC. Download it from the Microsoft Store if necessary.
Step 2: Connect Your iPad to Your PC or Mac Use the iPad’s charger cable to connect it to your computer’s USB port. Unlock your iPad if necessary and tap “Trust” or “Allow” when prompted.
Step 3: Open File Explorer or Finder
- On Windows: Press “Windows Key + E” to open File Explorer.
- On Mac: Click the Finder icon in the Dock.
Step 4: Access iPad’s Internal Storage Click “Apple iPad” in the menu bar on the left. This allows you to access your iPad’s internal storage as if it were an external hard drive.
Step 5: Open the DCIM Folder Navigate to the DCIM folder, which contains all the photos and videos on your iPad. Open each folder to locate the photos you want to transfer.
Step 6: Transfer Photos
- Select the photos you want to transfer. Right-click (or Control-click on Mac) and choose “Copy” to copy the photos, or “Cut” to remove them from your iPad.
- Navigate to the desired folder on your computer and right-click (or Control-click) to select “Paste.”
Method 4: Using iCloud
If you prefer to keep things wireless, using iCloud to transfer photos is a convenient option. Here’s how:
Step 1: Enable iCloud Photos Ensure your iCloud is set to save your photos. Open the “Settings” app on your iPad, tap your name, then tap “iCloud.” Next, tap “Photos” and ensure the toggle switch next to “iCloud Photos” is turned on.
Step 2: Access iCloud Storage You can access your iCloud storage from any device. Here’s how:
- Windows: Install the iCloud app from the Microsoft Store and sign in with your Apple ID. Access iCloud Drive within File Explorer.
- Mac: iCloud Drive is pre-installed. Open Finder and click “iCloud Drive.”
- Web Browser: Go to https://www.icloud.com/iclouddrive and sign in with your Apple ID.
Step 3: Transfer Photos Navigate to the folder containing your photos. Select the photos you want to transfer, right-click (or Control-click) and choose “Copy” or “Cut.” Paste them into the desired folder on your computer.
Conclusion
By following these detailed steps, you can efficiently transfer your photos from your iPad to your computer, ensuring you always have a backup of your precious memories and freeing up valuable storage space on your iPad. Whether you prefer using a Windows PC or a Mac, these methods provide reliable and straightforward options to manage your photo library.


Add comment